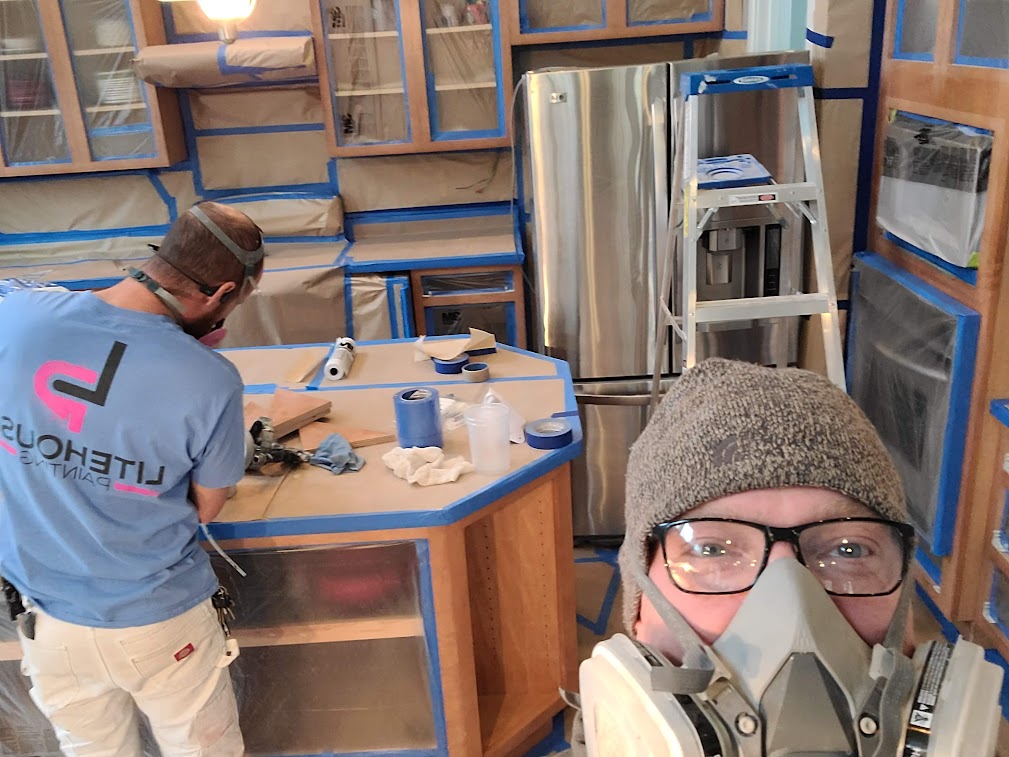
I’ve been refinishing and respraying cabinets for over a decade at LiteHouse Painting, and if there’s one thing I see too often, it’s homeowners underestimating how unforgiving a cabinet respray can be. You might think it’s “just paint,” but even small oversights—skipping a sanding step, using the wrong coating, or rushing the cure—can ruin weeks of work. Peeling, rough textures, streaking, or sticky surfaces are common consequences of overlooked details.
If your goal is a smooth, durable, professional-looking cabinet finish in Beavercreek, OH, you need to know the most common and painful respray errors—and more importantly, how to prevent them.
Key Takeaways
-
Cabinet respray failures almost always stem from improper prep, wrong products, or rushed steps.
-
Kitchens need coatings engineered for high-moisture, high-touch surfaces—house paint simply isn’t enough.
-
Proper cleaning, degreasing, sanding, priming, and curing are critical for long-term durability.
-
Overspray control, ventilation, and professional equipment determine finish smoothness.
-
Hiring skilled respray professionals protects against costly, irreversible mistakes.
What Homeowners Get Wrong About Cabinet Respray
There’s a surprising amount of misinformation out there about cabinet resprays. Here are a few common misconceptions I hear every week:
-
“It’s just paint—any product will do.” Wrong. Cabinets require industrial-grade coatings, like 2K polyurethanes or hard-wearing lacquers, designed to withstand daily use. Wall paint or trim enamel simply isn’t up to the task.
-
“You don’t need to take the doors off.” Leaving doors installed leads to drips, edge buildup, and visible spray lines. Removing them isn’t optional if you want a flawless finish.
-
“Prep work isn’t that important.” Kitchen surfaces are full of grease, oils, and factory coatings that prevent paint from bonding. Skipping prep is the fastest way to peeling.
-
“You can use wall rollers.” Only professional HVLP or fine-finish sprayers produce a smooth, level finish. Rollers will leave marks that are nearly impossible to hide.
For a deeper dive into mistakes that ruin your cabinet painting, check out this guide on cabinet painting errors.
Error #1: Skipping Deep Cleaning and Degreasing
Cabinet surfaces collect invisible oils, cooking vapors, silicone residues, and other contaminants. These prevent primers from bonding, and the result is peeling, fish-eyes, or separation within months.
Professional resprayers at LiteHouse Painting use industrial degreasers like TSP or other pro-grade cleaners. We rinse thoroughly to remove residue and ensure the surface is completely dry before sanding. It might sound tedious, but skipping this step is the fastest way to ruin your cabinet respray.
Error #2: Not Sanding Enough (or Sanding Incorrectly)
Most cabinets come with factory finishes—urethane or varnish—that require mechanical abrasion. Beginners often make two mistakes: using too fine a grit too early or skipping edges and detailed profiles. Both leave areas where primer and paint won’t adhere properly.
Correct sanding is a multi-step process. We scuff-sand with 120–180 grit before priming, then lightly sand between coats with 220–320 grit for a smooth finish. Every speck of dust is vacuumed and wiped with a tack cloth. Without this step, the finish can appear uneven, gritty, or prone to peeling.
Error #3: Using the Wrong Primer or Skipping Primer Entirely
Primer selection is critical. Different materials—MDF, oak, maple, or thermofoil—require different products. Skipping primer or using a general-purpose one can lead to tannin bleed, peeling around handles, or uneven absorption.
We use shellac-based primers like Zinsser BIN for stain-blocking, bonding primers for laminate or thermofoil, and sandable primers for a perfectly smooth topcoat. Primer is not optional if you want a long-lasting, flawless cabinet respray.
Error #4: Choosing the Wrong Paint System
Many homeowners assume any interior paint will work. The truth is, latex or trim enamel is too soft and chips easily. Professional systems engineered for cabinets include 2K polyurethane, catalyzed lacquer, high-performance urethane enamel, or waterborne alkyd hybrids.
Using the wrong product leads to sticky surfaces, soft cure, yellowing, and premature peeling. At LiteHouse Painting, we follow manufacturer recommendations, perform adhesion tests, and guarantee results that last for years.
Error #5: Reinstalling Doors and Hardware Too Quickly
Paint that’s dry to the touch is not fully cured. Rushing the reinstallation of doors and hardware leads to sticking, chipping, or permanent impressions. The correct approach? Light handling after 24 hours, with full hardness in 7–14 days depending on the coating. Adequate ventilation is crucial for proper solvent evaporation.
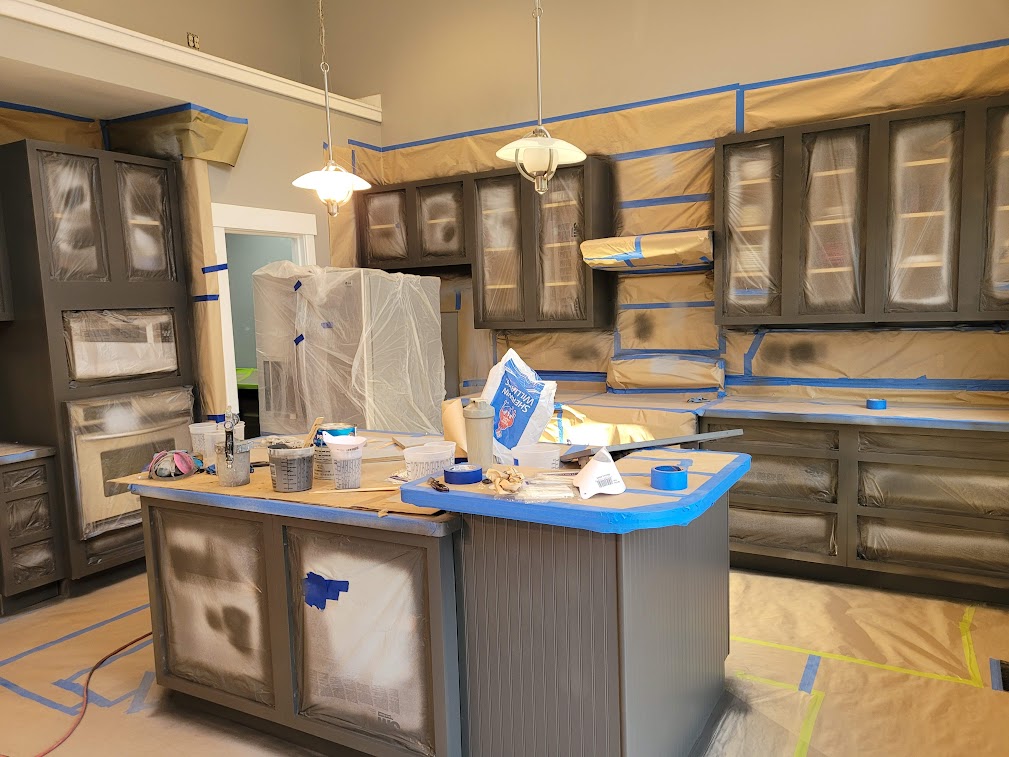
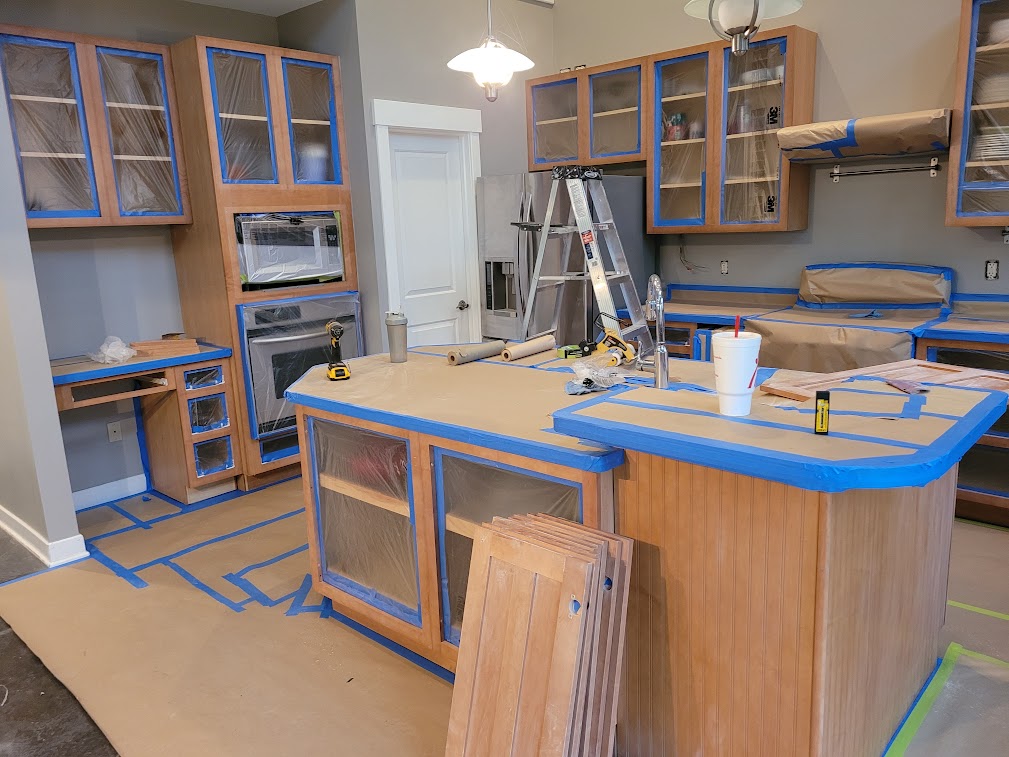
Error #6: Spraying Indoors Without Proper Ventilation or Overspray Protection
Overspray can settle on countertops, floors, appliances, and even nearby furniture, leaving an expensive mess. Protection is non-negotiable: zip walls, floor-to-ceiling plastic sheeting, and exhaust fans with proper filtration are essential. Doors and drawers should be finished in a controlled spray booth whenever possible. Solvent-based systems also require respirators and cross-ventilation. For guidance, see EPA guidelines on painting indoor air safety.
Error #7: Not Labeling or Organizing Doors and Hardware During Removal
Misaligned doors, uneven gaps, and damaged hinges often come from poor organization during removal. Numbering doors, storing screws separately, photographing hinge positions, and keeping hardware orientation correct saves hours of frustration and prevents errors that ruin the finished look.
Error #8: Uneven Spraying Technique and Wrong Equipment
Even experienced DIYers struggle with technique. Holding the sprayer too close or far, inconsistent speed, or overlapping incorrectly can cause streaks, orange peel, or inconsistent sheen. Professional equipment makes a difference: HVLP turbine sprayers, airless sprayers with fine-finish tips, filters, strainers, and viscosity control are standard in our workflow. Proper technique ensures a smooth, even cabinet respray.
Error #9: Skipping the Final Inspection and Touch-Up Stage
Flaws like pinholes, fibers, or handling marks may only be visible under angled light. Professionals perform final inspections, touch-ups with precision brushes, buffing, and silicone-free cleaning to maintain a long-term sheen. Skipping this step often results in minor imperfections that mar an otherwise beautiful finish.
Hidden Costs of Cabinet Respray Mistakes
Mistakes aren’t just cosmetic—they’re expensive. Improper prep can lead to complete re-coating or stripping back to bare wood. Hinges or soft-close mechanisms can be damaged. Trapped moisture may cause swelling, and replacing cabinets is far costlier than hiring a professional cabinet respray team from the start.
How Professionals Prevent These Mistakes
At LiteHouse Painting, we follow a systematic process: degreasing, sanding, priming, controlled spraying in a dedicated booth, and industrial-grade coatings engineered for kitchen use.
Our quality control measures, coupled with warranty-backed products, guarantee adhesion, color retention, and durability for years. Every project is checked multiple times, ensuring a flawless finish.
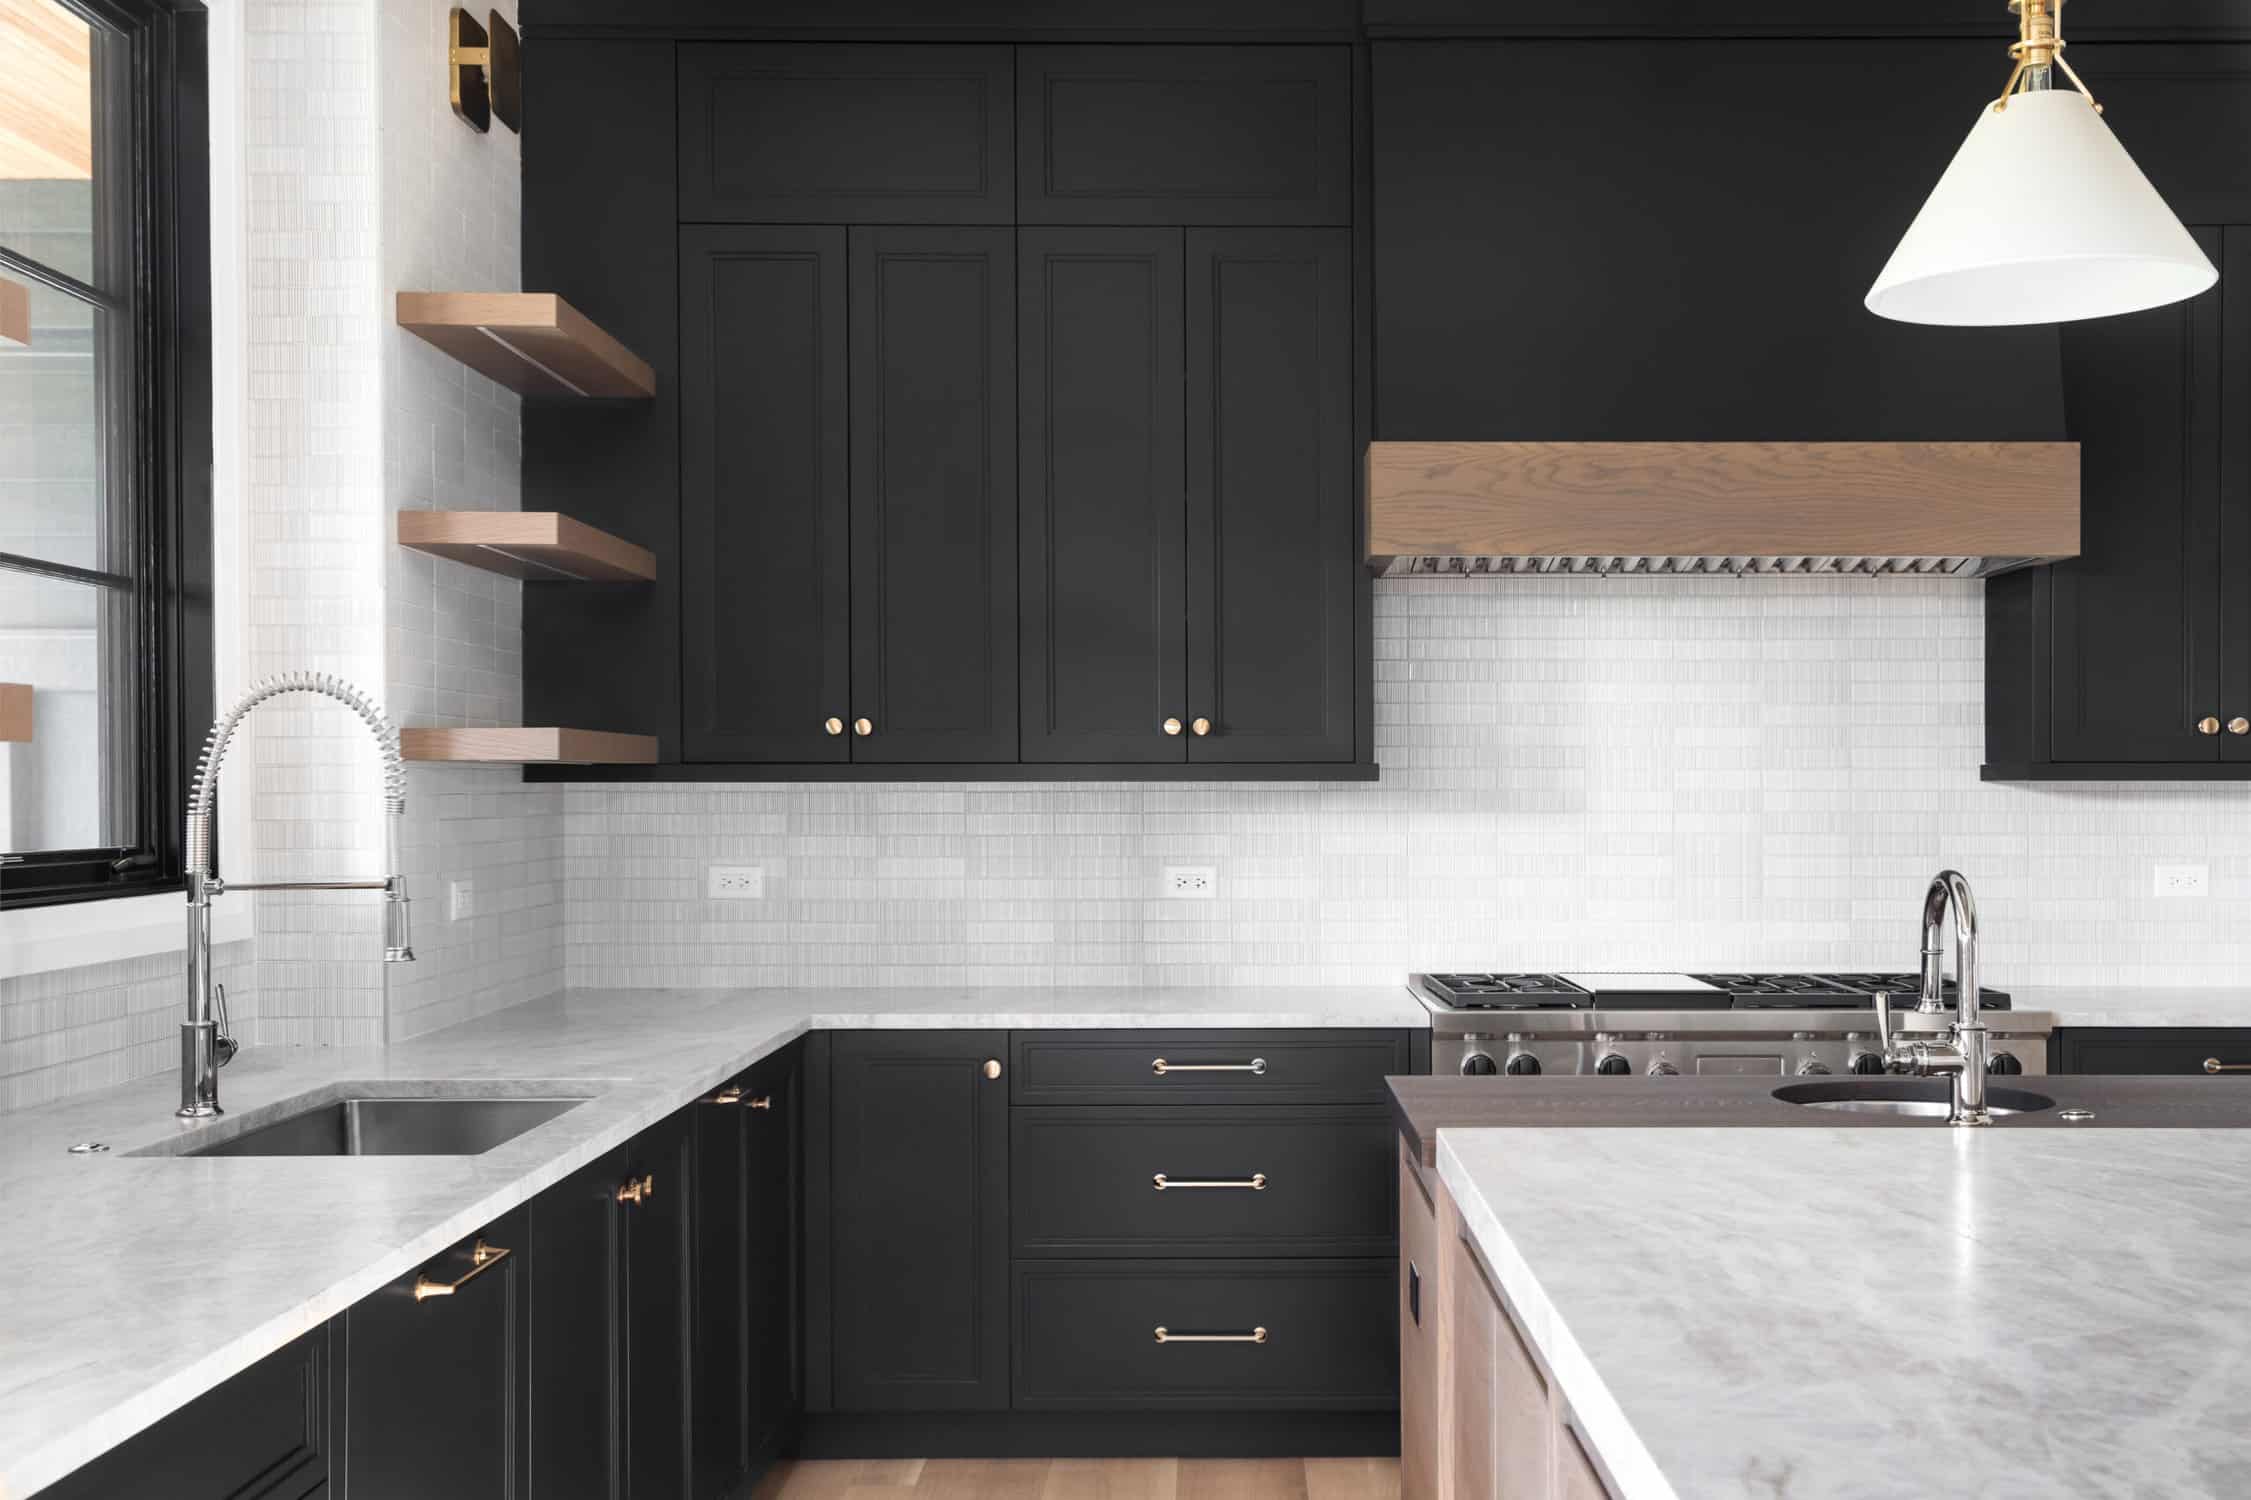
Avoid These Painful Mistakes for a Stunning, Long-Lasting Makeover
A professional cabinet respray is one of the smartest, cost-effective ways to modernize a kitchen—but only when done correctly. These nine mistakes are the most common culprits behind peeling, rough texture, and expensive do-overs. Proper preparation, equipment, and coating knowledge separate a successful, long-lasting makeover from a frustrating failure.
If you’re in Beavercreek, OH and want to avoid these pitfalls, trust LiteHouse Painting for expert cabinet painting services. We deliver smooth, durable, factory-like finishes that transform your kitchen and protect your investment.