Painting cabinets can be one of the most rewarding upgrades in your home — or one of the most frustrating. Many homeowners start strong, only to face peeling paint, tacky finishes, or uneven sheen just weeks later. The good news? Every one of these common failures has a professional solution.
At LiteHouse Painting, we’ve handled hundreds of cabinet painting projects across Kettering, OH, and the truth is simple: painting cabinets isn’t hard when you follow the right process, use the right products, and respect the science behind surface preparation and curing.
In this guide, we’ll walk you through seven of the most costly cabinet painting mistakes — the kind that waste time, money, and patience — and how professionals avoid them using precision prep, advanced primers, and high-performance enamels.
Why Painting Cabinets Isn’t Like Painting Walls
Cabinets aren’t drywall — and that’s where many DIY projects go wrong. Most cabinet surfaces are varnished, laminated, or sealed with factory coatings that actively resist paint adhesion. Meanwhile, kitchens and bathrooms expose those surfaces to heat, grease, and moisture — all of which attack weak paint bonds.
That’s why professional cabinet painters use coatings engineered for hard, durable finishes. While wall paints remain flexible, cabinet-grade enamels harden like furniture lacquer. They resist fingerprints, grease, and water — key for long-term performance.When LiteHouse Painting performs cabinet painting, we don’t just “paint over” old finishes. We start with degreasing, sanding, and priming using industrial-grade bonding primers like INSL-X STIX or Zinsser BIN Shellac. Then, we apply hybrid enamel finishes such as Sherwin-Williams Emerald Urethane or Benjamin Moore Advance, known for superior leveling and durability.
This level of preparation and product pairing is what makes painting cabinets look factory-smooth and last for years.
7 Common Cabinet Painting Mistakes and Their Fixes
| Mistake | What Happens | Professional Fix |
|---|---|---|
| Skipping prep work | Paint won’t stick, peels easily | Degrease, sand, apply bonding primer |
| Using the wrong paint | Soft, tacky, or dull finish | Use enamel or acrylic-alkyd hybrid paints |
| Painting over grease | Fish-eye marks, bubbling | Clean with TSP substitute before priming |
| Ignoring drying times | Sticky surface, smudges | Follow manufacturer’s cure time |
| Using cheap tools | Brush marks, uneven texture | Use microfiber rollers or HVLP sprayer |
| Painting in humid conditions | Uneven sheen, tacky film | Control humidity, use fast-drying enamel |
| No topcoat | Chips and discoloration | Add urethane or poly finish coat |
1. Skipping Proper Cleaning and Degreasing
Nothing destroys adhesion faster than grease. Cabinets, especially near stoves, accumulate oils invisible to the eye but deadly to paint grip.
Professional painters never skip degreasing. Products like Krud Kutter Gloss-Off or TSP substitute break down oils and residues that would otherwise cause bubbling or peeling. After cleaning, surfaces are rinsed and left to dry completely before sanding.
A light scuff with 180–220 grit sandpaper opens the surface, giving primers something to bite into. Then, a tack cloth removes microdust before priming.
Fact: Most peeling paint failures are caused by poor cleaning — not bad paint. Degreasing is the single most important step in painting cabinets that last.
2. Skipping Primer — The Costliest Shortcut
Some DIYers assume they can save time by applying paint directly to wood or laminate. That’s a recipe for failure.
Primers do more than just “help paint stick.” They chemically bond with both the substrate and the topcoat, creating a durable, stable foundation. Without primer, even the best cabinet paints will peel, chip, or scratch under daily use.
Pro System:
-
Zinsser BIN Shellac Primer – Ideal for stained wood or glossy varnish. Dries fast and blocks tannin bleed.
-
INSL-X STIX Bonding Primer – Excellent for laminate, MDF, and previously coated surfaces.
At LiteHouse Painting, we tint primers to closely match the final color. This technique not only improves coverage but also enhances uniformity in tone and sheen during cabinet painting projects.
3. Using the Wrong Paint Type
Wall paints are flexible and soft — great for drywall, terrible for cabinetry. They can’t handle the daily friction of door handles, cleaning, or heat.
Professional cabinet painters rely on self-leveling enamel paints. These formulas dry to a hard, furniture-like coating that’s both durable and washable.
Top Product Picks:
-
Sherwin-Williams Emerald Urethane Trim Enamel – Hybrid enamel with excellent leveling and block resistance.
-
Benjamin Moore Advance – Waterborne alkyd with slow-drying chemistry for smooth finishes.
These paints are specifically engineered for painting cabinets in high-use areas. They resist yellowing, scuffs, and moisture — and with proper curing, last up to 10 years without needing touch-ups.
4. Rushing Dry Times Between Coats
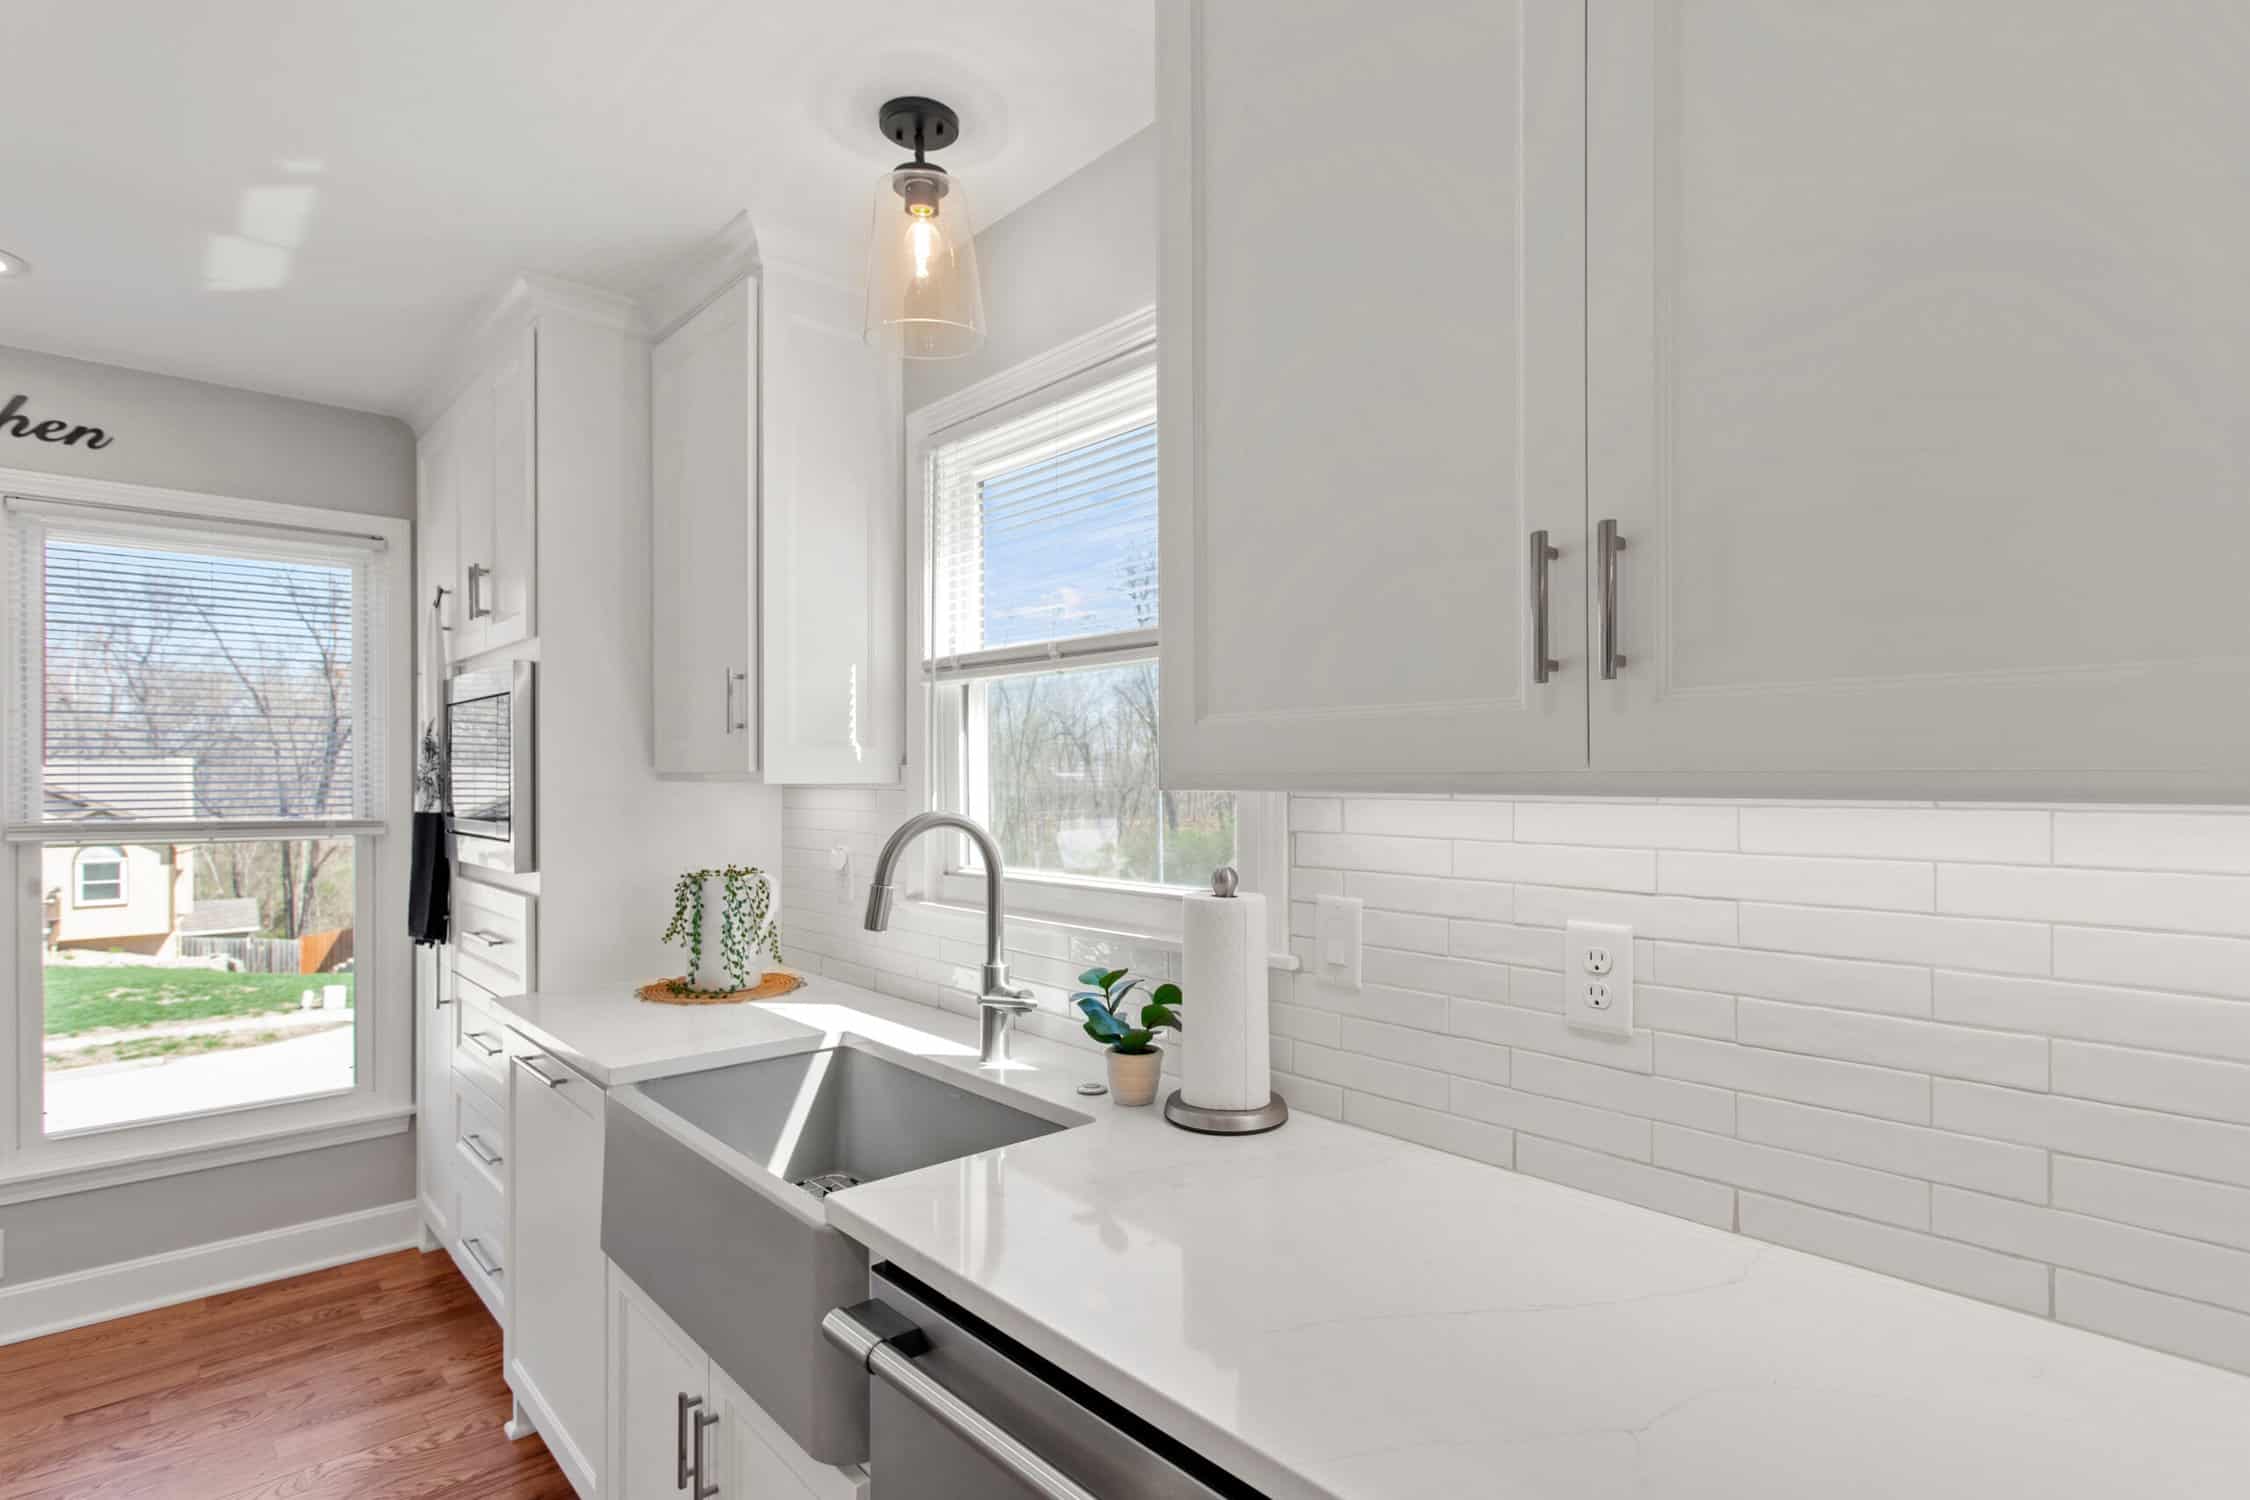
a kitchen with white cabinets and stainless sink fauced on the counter top in front of the dishwasher
One of the easiest ways to ruin a good paint job is impatience. Cabinet paints might feel dry to the touch in an hour, but they haven’t cured internally. Painting over semi-dry layers traps moisture and leads to tacky finishes or uneven sheen.
Professional Rule of Thumb:
Wait 4–6 hours between coats for waterborne enamels, longer if humidity is above 60%. Use light sanding (320–400 grit) between coats for maximum adhesion.
At LiteHouse Painting, we maintain ideal curing conditions — 65–75°F and steady airflow — using fans and dehumidifiers. This ensures smooth, dust-free results every time we’re painting cabinets in Kettering, OH.
5. Using the Wrong Tools
Brushes and rollers matter more than many think. Low-quality tools leave drag marks, bubbles, or heavy texture — issues that are difficult to fix once the paint dries.
Professional Equipment:
-
Wooster Pro Microfiber 4” Rollers – Designed for enamel paints; produce minimal texture.
-
Graco or Fuji HVLP Sprayers – Deliver a fine mist for that “factory” finish.
Paint is strained through mesh filters before spraying to remove pigment clumps.
This attention to detail is why professional cabinet painting finishes look seamless and ultra-smooth.
6. Painting in Poor Conditions
Environmental factors can make or break your results. High humidity slows drying and traps solvents, causing tacky or dull finishes. Temperature swings can also affect paint flow and curing consistency.
Professionals manage these variables carefully.
The sweet spot for painting cabinets is between 65–75°F (18–24°C) and under 60% humidity. Portable spray tents or climate-controlled rooms keep out dust and stabilize airflow.
If you’re painting indoors, close off HVAC vents to prevent dust circulation, and always use fans to promote even curing. The environment is just as important as the paint itself.
7. Skipping a Protective Topcoat
Even the toughest enamel paint can benefit from a clear protective coat — especially in busy kitchens or bathrooms. A topcoat adds a barrier against moisture, heat, and physical wear.
Recommended Product:
General Finishes High Performance Poly – A waterborne polyurethane that resists scuffing and yellowing while maintaining clarity.
Adding this step during cabinet painting ensures the finish remains glossy, smooth, and durable for years. Professional painters often include it as part of their premium refinishing packages.
Paint and Primer Product Comparison for Cabinet Painting
| Product Name | Type | Ideal Use | Key Benefit |
|---|---|---|---|
| Zinsser BIN Shellac Primer | Shellac-based | Glossy/stained wood | Fast-drying, stain-blocking |
| INSL-X STIX | Acrylic bonding primer | Laminate, MDF | Superior adhesion |
| Sherwin-Williams Emerald Urethane | Acrylic-alkyd enamel | Cabinets, trim | Hard, durable, low-VOC |
| Benjamin Moore Advance | Waterborne alkyd | Kitchen cabinetry | Self-leveling, smooth finish |
| General Finishes High Performance Poly | Waterborne polyurethane | Topcoat | Added moisture protection |
How Professionals Avoid These Mistakes
Professional cabinet painters use methodical systems — not guesswork. Every stage is deliberate, from prep to cure.
-
Surface preparation — Degreasing, sanding, and dust control.
-
Primer selection — Matched to substrate type for guaranteed adhesion.
-
Application method — HVLP sprayers or fine-finish rollers ensure even coating.
-
Environmental control — Airflow and temperature stability for flawless curing.
At LiteHouse Painting, these procedures form the backbone of every cabinet painting project we handle in Kettering, OH.
This precision also reduces long-term maintenance and cost — much like understanding exterior painting cost factors before starting a large project.
Professionals also use eco-certified paints that meet environmental and health standards, as described by the EPA’s guide on ecolabels on paint and standards on greener products.
Common Questions About Painting Cabinets
Q1: Do I have to sand before painting cabinets?
Yes. Even a light scuff-sand helps primers and paint bond more effectively. Skipping sanding risks early paint failure.
Q2: Can I paint over laminate cabinets?
Yes — but only with a bonding primer such as INSL-X STIX. It’s designed to grip slick, nonporous surfaces that normal primers can’t.
Q3: How long should I wait before reinstalling doors and hardware?
Wait at least 48–72 hours. Paint may be dry to the touch, but it takes up to 10 days to fully cure to hardness.
Q4: Do I need a topcoat over enamel paint?
Not always. Enamels are tough on their own, but a urethane topcoat adds extra defense for humid or high-traffic kitchens.
Q5: Why is my cabinet paint yellowing?
Oil-based paints tend to yellow over time. Switch to hybrid or waterborne enamels for lasting color stability.
Skip the Regrets — Paint Like a Pro
Painting cabinets is one of the best ways to modernize your kitchen or bathroom — but only if done with care and precision. Each mistake, from skipping primer to using the wrong paint, can undo hours of effort.
By using professional-grade materials like bonding primers, self-leveling enamels, and urethane topcoats, and by following a structured system for prep and curing, you can achieve smooth, durable, factory-quality results that stand up to daily wear.
Or, let the experts handle it. LiteHouse Painting’s cabinet painting services in Kettering, OH are built on proven processes, premium materials, and lasting craftsmanship — so your cabinets look beautiful and stay that way for years.